Solar Panel Grounding: Ensuring Electrical Safety

Why Solar Panel Grounding is Crucial for Electrical Safety
Okay, let's talk solar panel grounding. Sounds boring, right? Wrong! It's actually super important for keeping you and your family safe. Think of it like this: your solar panels are soaking up all that awesome energy from the sun, but sometimes, things can go wrong. A lightning strike, a short circuit – these can send a surge of electricity through your system. Without proper grounding, that surge has nowhere to go but through… well, maybe through you! Grounding provides a safe path for that electricity to flow into the earth, preventing shocks and fires.
Understanding Grounding Principles for Solar PV Systems
So, how does grounding actually work? It's all about creating a low-resistance path to the earth. We're talking about connecting all the metal parts of your solar panel system – the panels themselves, the racking, the inverters – to a grounding electrode. This electrode is basically a metal rod buried deep in the ground. If there's a fault, the electricity will take the path of least resistance, which is down the grounding wire and into the earth, instead of shocking someone. Think of it like a lightning rod, but for your whole solar system!
Essential Components for Effective Solar Panel Grounding Systems
You'll need a few key things to get your grounding right. First, you'll need grounding lugs or clips. These are used to connect the grounding wires to the solar panels and racking. Make sure they're compatible with the materials you're using – aluminum racking needs aluminum lugs, for example, to prevent corrosion. Then you'll need grounding wire – usually bare copper wire of a specific gauge, depending on the size of your system. And finally, you'll need a grounding electrode – a copper rod or plate buried in the earth. Consult your local electrical codes and a qualified electrician to make sure you're using the right components and installing them correctly.
Step-by-Step Guide to Solar Panel Grounding Installation
I'm not going to lie, installing a grounding system is not a DIY project for most people. It's complicated and potentially dangerous. But here's a general idea of what's involved:
- Planning: Figure out where you're going to place your grounding electrode and how you're going to run the grounding wires.
- Installation of Grounding Electrode: Drive the grounding rod deep into the earth.
- Connecting Grounding Wires: Attach the grounding lugs to the solar panels and racking, and then connect them to the grounding wire.
- Connecting to Grounding Electrode: Connect the grounding wire to the grounding electrode using a clamp.
- Testing: Test the grounding system with a multimeter to make sure it's working properly.
Understanding NEC Grounding Requirements for Solar Panel Arrays
The National Electrical Code (NEC) has a bunch of rules about grounding solar panel systems. These rules are there to protect you! They cover things like the size of the grounding wire, the type of grounding electrode, and how the system needs to be bonded. It's crucial to understand these requirements and follow them closely. Your local building inspector will be checking, and if your system isn't up to code, you'll have to fix it. Again, a qualified electrician will be familiar with the NEC requirements in your area.
Troubleshooting Common Solar Panel Grounding Issues
Sometimes, things go wrong. You might notice that your system isn't producing as much power as it should, or that you're getting strange readings on your multimeter. These could be signs of a grounding problem. Common issues include loose connections, corroded lugs, and damaged grounding wires. To troubleshoot, visually inspect the system for any obvious problems. Use a multimeter to check the continuity of the grounding system. If you find any issues, fix them immediately. And if you're not comfortable working with electricity, call a professional!
Solar Panel Grounding and Lightning Protection Systems
Grounding helps with lightning protection, but it's not a substitute for a dedicated lightning protection system. A lightning strike is a massive surge of electricity, and even a well-grounded solar panel system might not be able to handle it. A lightning protection system includes lightning rods, surge arrestors, and other devices that are designed to divert lightning strikes away from your home and into the ground. If you live in an area that's prone to lightning, it's worth considering adding a lightning protection system to your solar panel setup.
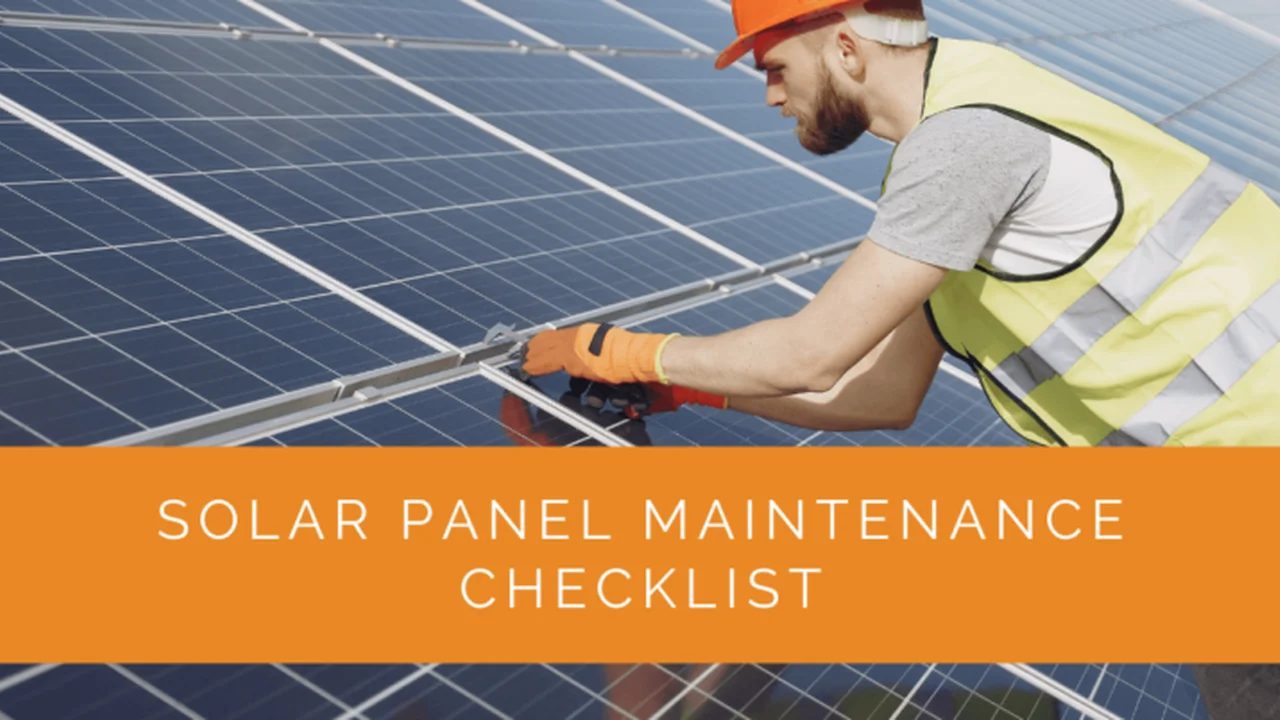
The Importance of Regular Grounding Inspections and Maintenance
Don't just install your grounding system and forget about it! You need to inspect it regularly to make sure it's still working properly. Check for loose connections, corrosion, and damage to the grounding wires. Test the grounding system with a multimeter to make sure it's still providing a low-resistance path to the earth. If you find any problems, fix them immediately. A little bit of maintenance can go a long way in preventing serious problems down the road.
Grounding Different Types of Solar Panel Racking Systems
There are different types of racking systems, and each one might require a slightly different grounding approach. For example, some racking systems are designed to be directly grounded, while others require the use of grounding straps. Make sure you understand the specific grounding requirements for your racking system and follow the manufacturer's instructions carefully.
Integrating Grounding with Overall Solar System Design
Grounding shouldn't be an afterthought. It should be integrated into the overall design of your solar system from the beginning. This means considering the grounding requirements when you're choosing your solar panels, racking, and inverters. It also means planning the layout of your system to minimize the length of the grounding wires and ensure that all components are properly bonded.
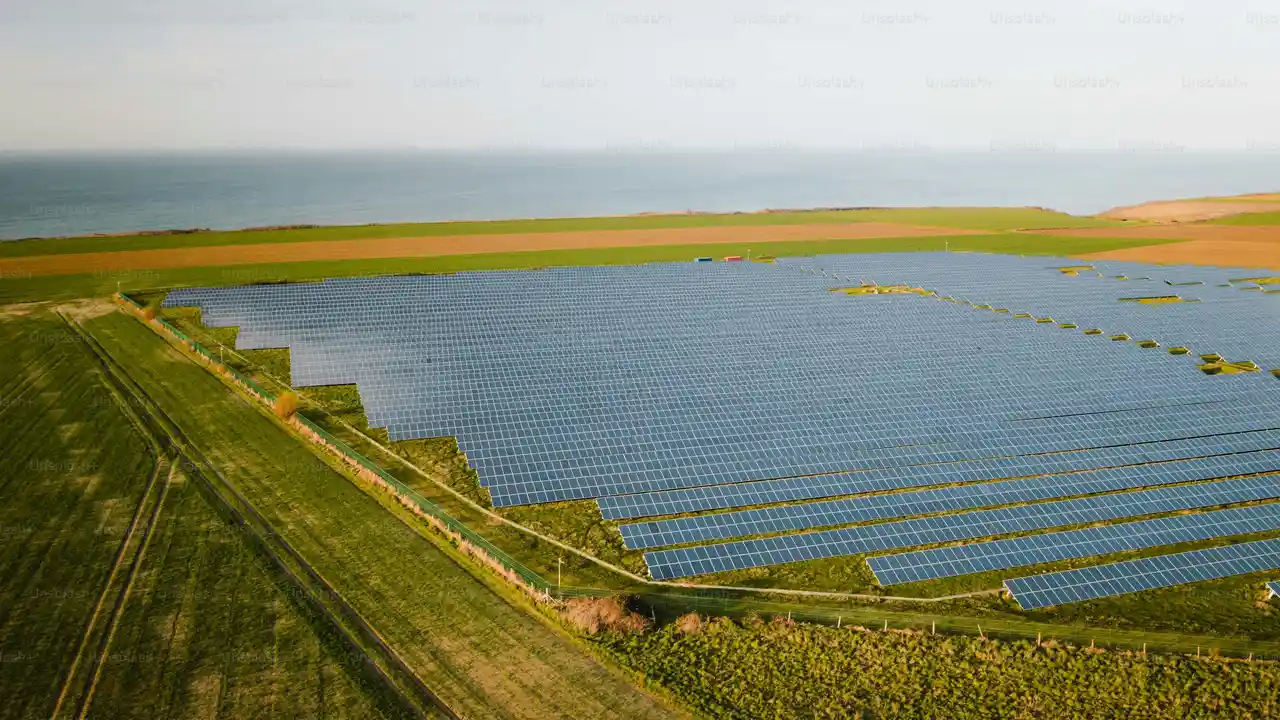
Advanced Grounding Techniques for Large-Scale Solar Installations
Large-scale solar installations, like solar farms, require more sophisticated grounding techniques. These might include using multiple grounding electrodes, grid-style grounding systems, and specialized grounding conductors. The goal is to ensure that the entire system is effectively grounded, even in the event of a major fault. These installations usually involve detailed engineering studies and specialized equipment.
Product Recommendations and Comparisons for Solar Panel Grounding
Okay, let's talk about some specific products you might use for grounding your solar panels. Remember, always consult with a qualified electrician to determine the best products for your specific situation.
H2 Grounding Lugs: Burndy GRC Series vs. Ilsco GTL Series
These are two popular brands for grounding lugs. Burndy GRC series lugs are known for their durability and ease of installation. They're made from high-strength copper alloy and are designed to provide a reliable connection. Ilsco GTL series lugs are another good option. They're also made from copper alloy and are UL listed for grounding and bonding. The Burndy lugs tend to be slightly more expensive, typically around $5-$8 per lug, while the Ilsco lugs are usually in the $3-$6 range. Both are suitable for most residential solar panel installations. The choice often comes down to personal preference and availability.
H2 Grounding Wire: Copper vs. Aluminum
Copper is the most common material for grounding wire, but aluminum is sometimes used in larger systems to save money. Copper is a better conductor than aluminum, and it's also more resistant to corrosion. However, copper is more expensive. For most residential systems, copper is the way to go. Expect to pay around $1-$2 per foot for copper grounding wire, depending on the gauge. Aluminum wire is significantly cheaper, but it requires special connectors to prevent corrosion.
H2 Grounding Electrode: Copper Rod vs. Ground Plate
A copper rod is the most common type of grounding electrode. It's driven deep into the earth to provide a low-resistance path to ground. A ground plate is an alternative that's sometimes used in areas where it's difficult to drive a rod into the ground. A typical 8-foot copper grounding rod costs around $20-$30. A ground plate is usually more expensive, around $50-$70.
H2 Surge Protection Devices: Eaton CHSPT2ULTRA vs. Siemens FS140
While not strictly grounding components, surge protection devices (SPDs) are crucial for protecting your solar panel system from voltage spikes. The Eaton CHSPT2ULTRA is a popular choice, offering robust protection for your entire electrical panel. It typically costs around $150-$200. The Siemens FS140 is another reliable option, often priced slightly lower at around $120-$180. Consider installing an SPD to safeguard your investment.
Real-World Scenarios and Examples of Effective Grounding
Let's say you live in Florida, which is known for lightning strikes. A properly grounded solar panel system, combined with a lightning protection system, can significantly reduce the risk of damage to your home and electrical equipment. Or imagine a scenario where a squirrel chews through the insulation on a wire in your solar panel system. Without proper grounding, this could create a dangerous short circuit. But with grounding, the electricity will flow safely to the ground, tripping a breaker and preventing a fire.
:max_bytes(150000):strip_icc()/277019-baked-pork-chops-with-cream-of-mushroom-soup-DDMFS-beauty-4x3-BG-7505-5762b731cf30447d9cbbbbbf387beafa.jpg)